Redirect USB in Remote Desktop on macOS

In this guide, we’ll tell you how to easily forward USB devices from Mac to Windows in a remote desktop session.
Content
- The problem of USB redirection from a Mac client to a Windows server
- Software solution for sharing USB over RDP
- How-to guide
The problem of USB redirection from a Mac client to Windows server
If you need to access Windows apps, resources, and desktops from your Mac, probably the simplest way to achieve it is to install a Remote Desktop client by Microsoft. The macOS client lets you log in to a Windows environment from your Mac computer and work with your data and applications. As for USB redirection, it doesn’t seem that simple though.
Currently, the PDP client for Mac allows you to remotely connect to a limited set of devices including printers, microphones, and cameras.
But if you have let’s say a USB scanner attached to your Mac computer and want it to be accessible on the Windows server you are connected to, most likely you will need to use a dedicated third-party USB over RDP tool.
Software solution for sharing USB over RDP for Mac

With professional software like USB over RDP, you’ll be able to redirect the USB device from your local machine to the server easily and securely.
USB over RDP is a cross-platform solution that works with all major platforms including Mac, Windows, and Linux. It supports the Remote Desktop Protocol and makes it possible to redirect USB devices of virtually any type from DRP client to server and vice versa.

Related Articles
How it works
To share a locally-attached USB device over RDP and connect to it from a remote desktop, you should take these simple steps:
- Download USB Network Gate on your Mac and install it.
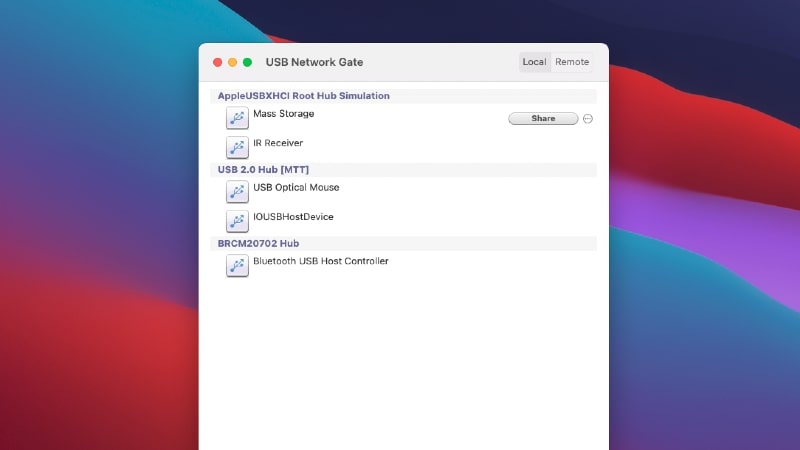
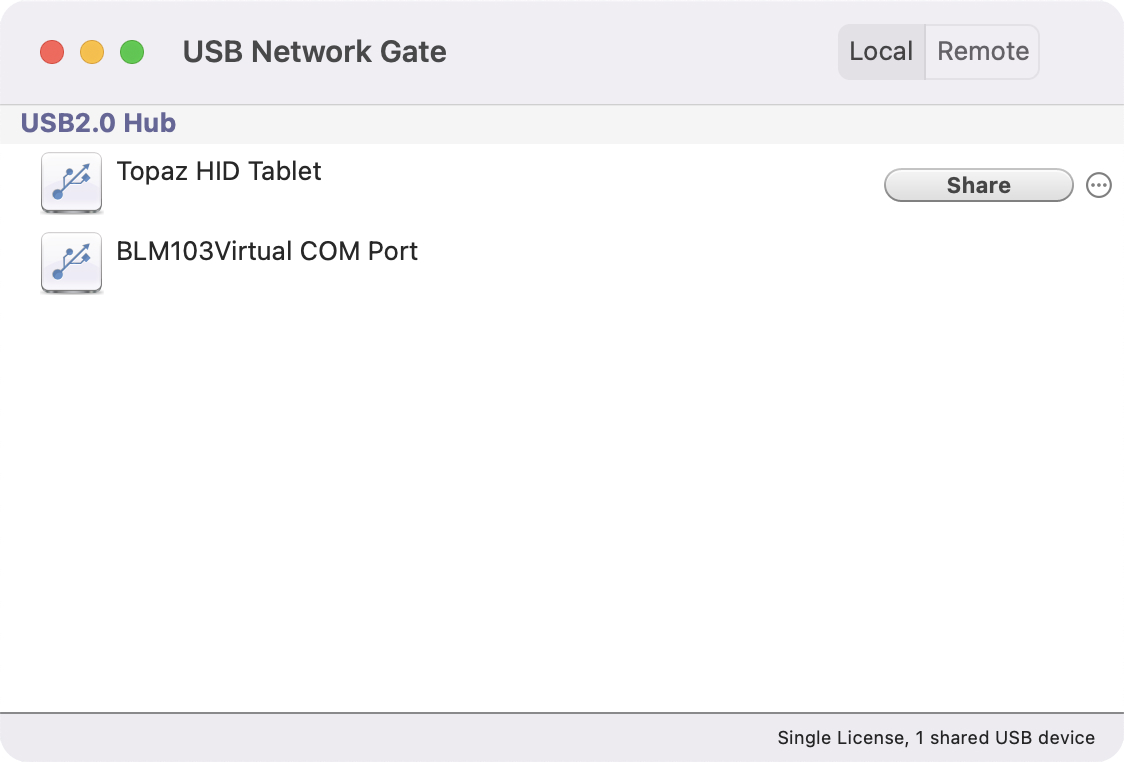
- Launch the program and go to the Local USB Devices tab. You will see the list of devices that are physically connected to your Mac. All you need to do is find the one you would like to access remotely and click the Share button next to it.

- Now install xfreerdp - the RDP client for Mac:
- Once done, launch your Terminal.app and run the following command:
- Also, you may load some additional plugins for freeRDP.
- If you are going to share an audio device over the Remote Desktop Protocol, you should start xfreerdp with additional options:
brew install freerdp |
You can review the documentation for xfreerdp here. Please note: homebrew is a prerequisite.
xfreerdp --plugin usb4rdp ‹remote address=""› |
where ‹remote address=""› is the IP address/domain name/computer name of the remote server.
This command will start the RDP client xfreerdp together with the Electronic Team's plugin. As a result, you will be able to use the USB Network Gate functionality in your RDP session.
If you execute the following command:
xfreerdp --plugin cliprdr --plugin usb4rdp xxx.xx.xx.xx |
The RDP client xfreerdp will be launched with the cliprdr and usb4rdp plugins, which means the clipboard data on the terminal server and client can be synchronized.
xfreerdp --plugin usb4rdp -0 -o server |
This command will allow the redirection of the sound with the help of the USB Network Gate capabilities and not by means of the RDP client.
It’s important:
- Electronic Team's plugin usb4rdp can be used with xfreerdp version 1.0+.
- You should also install the latest edition of XQuartz, if your Mac is running OS X version 10.8 or newer.
- It won’t be possible to share USB devices in an RDP session if you enable the traffic encryption, compression, or authorization options.